

.jpg?width=500&height=750&name=Crochet%20Bow%20Ties%20Headband%20(1).jpg)
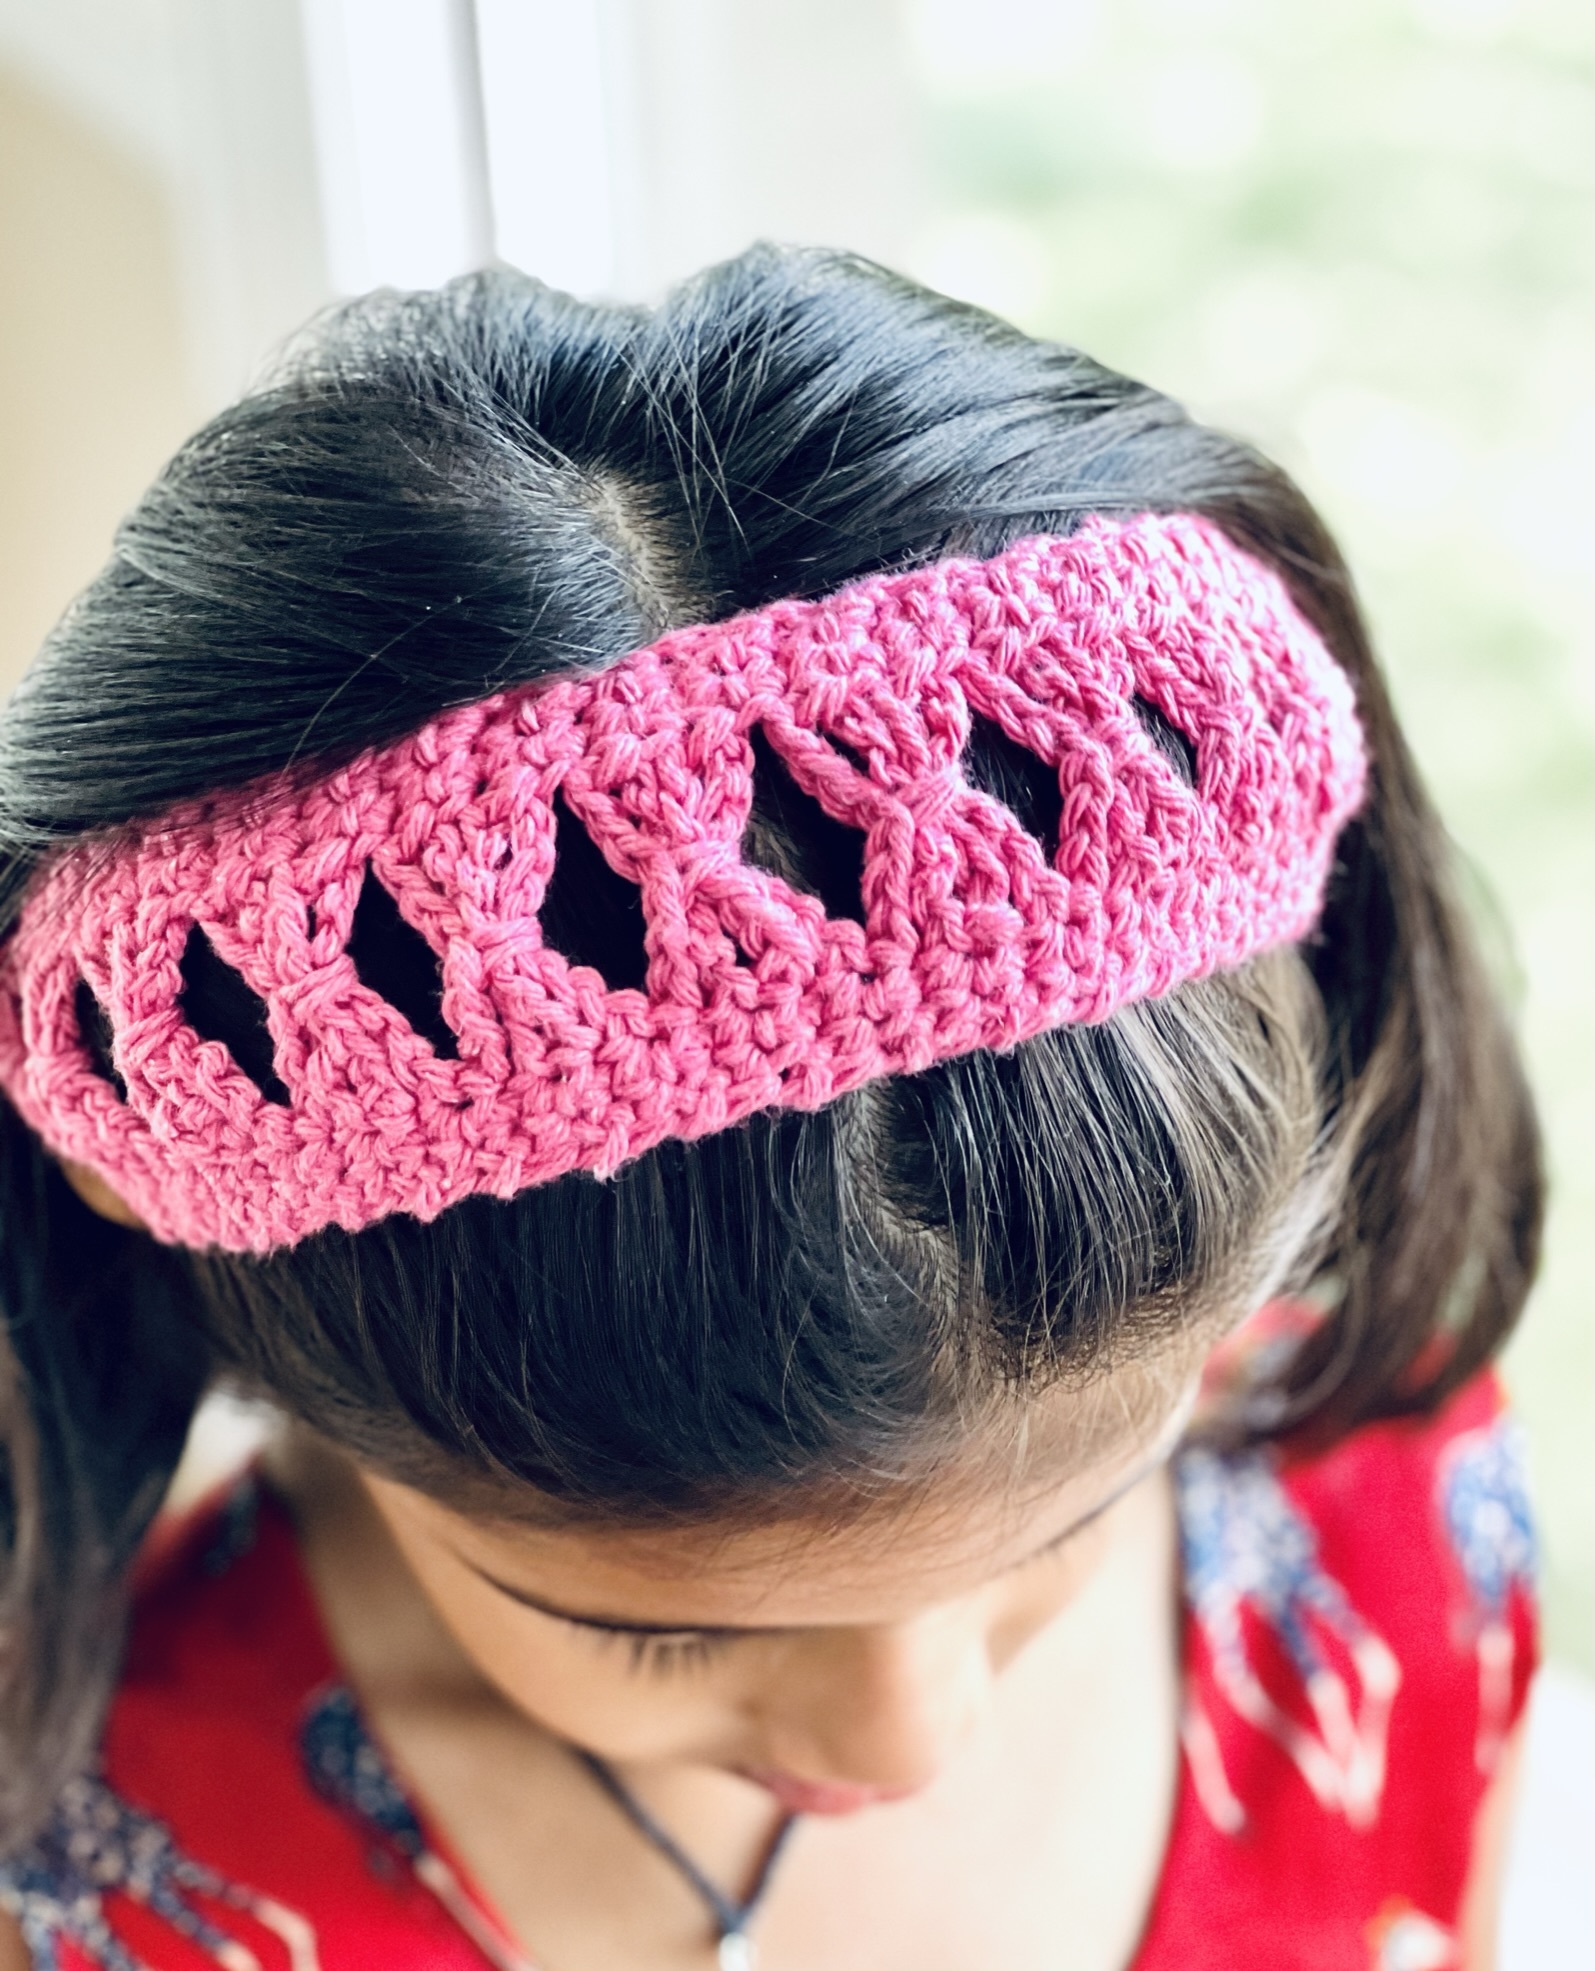
This Bow ties headband could be the perfect choice for a quick and easy crochet project using basic single crochet stitch. It could be made with any color choice and one simple stitch. This simple and elegant headband would be perfect for adding a dash of personality to any outfit.
1 Ball Lily Sugar ‘n Creme #4 (Medium) worsted cotton yarn any Color
4mm Crochet Hook
-
Scissors
-
Measuring Tape
-
Tapestry Needle
Easy
Width : 5.5 cm (2.2")
Length when assembled : 23 cm (9")
Ch - Chain
St - Stitch
Sc - Single Crochet
Yo - Yarn over
ch sp - Chain Space
Head Band is worked width wise with fixed number of chains. Work as many rows as you like until you reach the desired length. Ch 1 at the beginning of the row counts as a stitch for this head band.
Measure the head circumference with a tape measure and note down the number. Generally, you would need to make a headband 2-3 inches shorter than the head circumference as the headband will stretch. For example, if your head circumference is 20 inches, you’ll need to make a headband that
is 18 inches in length. It also depends on the type of yarn and the stitch being used, it will stretch differently.
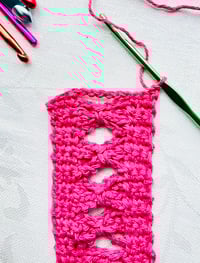
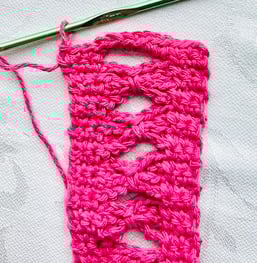
Bow ties are made by making chains of 7 stitches on 3 rows, then gathering the center of the chains with 1 single crochet stich over all 3 chains on the 4th row.
Ch 13 plus 1.
Foundation Row: 1 sc in 2nd ch from hook, 1 sc in each ch, turn.
Row 1: Ch 1(counts as first sc now and throughout), skip first st, 1 sc in each of the next 2 sts, Ch 7, skip next 7 sc, ending with 1 sc in last 2 sc, 1 sc in top of turning ch, turn.
Row 2: Ch 1, skip first sc, 1 sc in each of the next 2 sc, ch 7, skip next ch-7 loop, ending with 1 sc in last 2 sc, 1 sc in top of turning ch, turn.
Row 3: Repeat Row 2.
Row 4: Ch 1, Skip first sc, 1 sc in each of the next 2 sc, ch 3, 1 sc over all 3
ch-7 loops in previous 3 rows, ch 3 (Bow Tie is made), ending with 1 sc in
last 2 sc, 1 sc in top of turning ch, turn.
Row 5: Ch 1, skip first st, 1 sc in each of next 2 sc, ch 7, skip next bow tie,
ending with 1 sc in last 2 sc, 1 sc in top of turning ch, turn.
Repeat Rows 2 - 5 till you reach desired length.
Last Row: Ch 1, skip first st, 1 sc in each of next 2 sc, 7 sc in ch-7 loop
space, ending with 1 sc in last 2 sc, 1 sc in top of turning ch.
To assemble the head band, hold the wrong side of the head band facing out and make a loop. Make sure the headband is not twisted, slip stitch or sew the ends of the row together with yarn needle to complete your headband. Fasten off and weave in ends.


